Step 1: Access and Register an Account
On the homepage, click “Register” to create a new account.
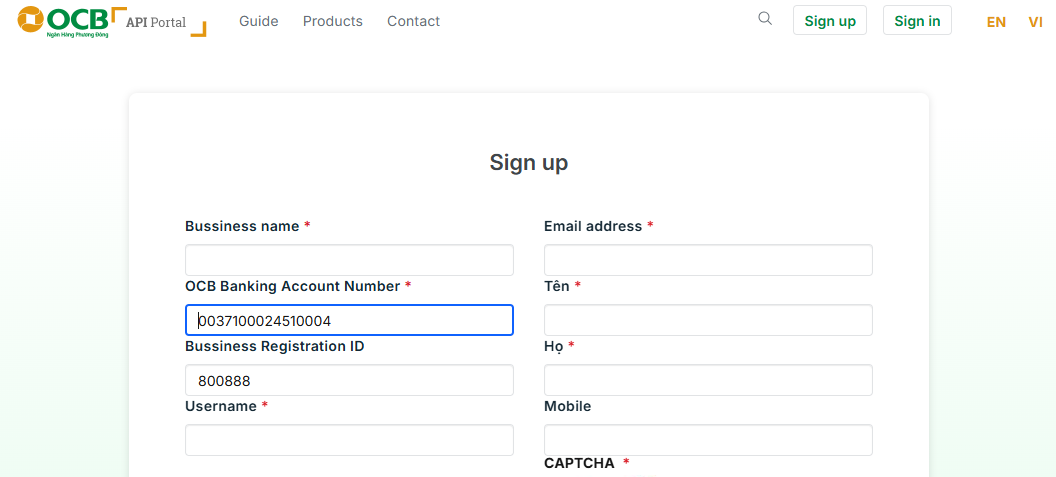
Step 2: Enter Registration Information
Complete all required fields in the registration form and submit your request.
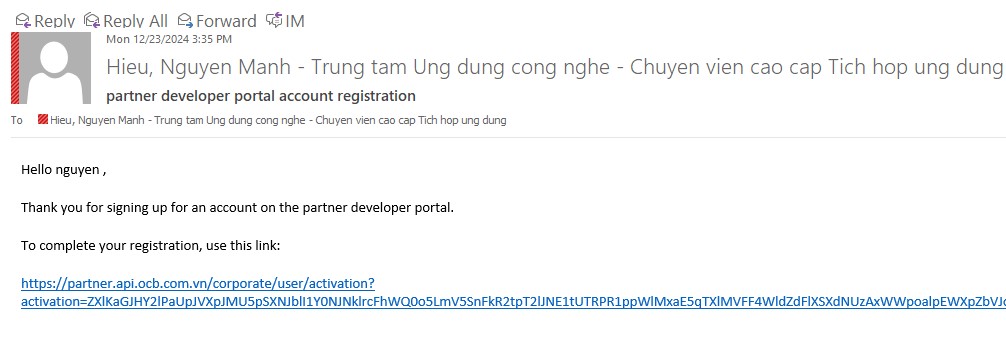
Step 3: Verify Your Account via Email
After registration, the system will send an email containing an account activation link.
Please access your email and click the link to complete the verification process.
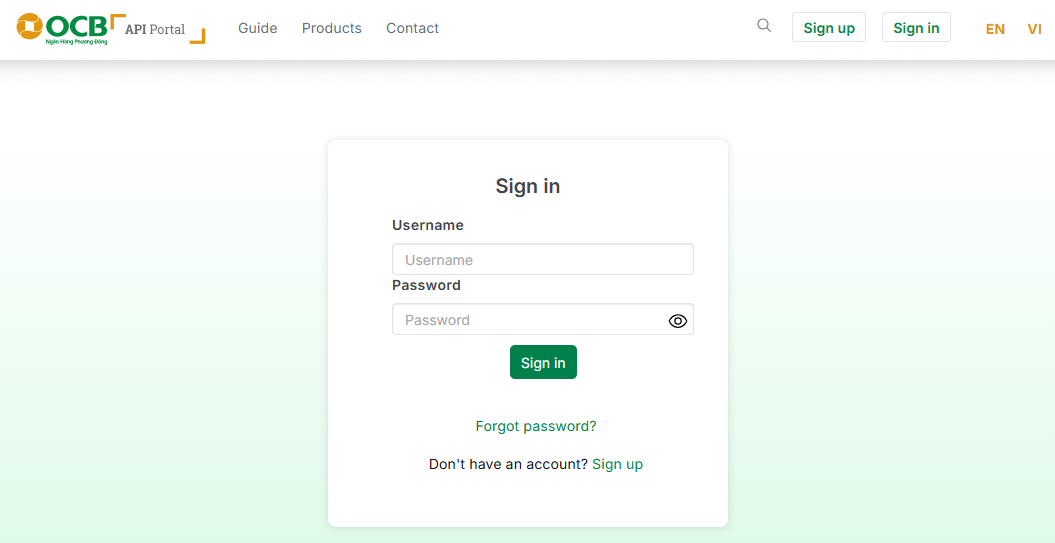
Step 4: Log in to the Developer Portal
Once your account is successfully activated, log in to the Portal using your registered credentials.
Step 5: Explore and Test API Packages
- “Get Started” to access the list of available API products.
-You may select “View Details” to review product information before subscribing.
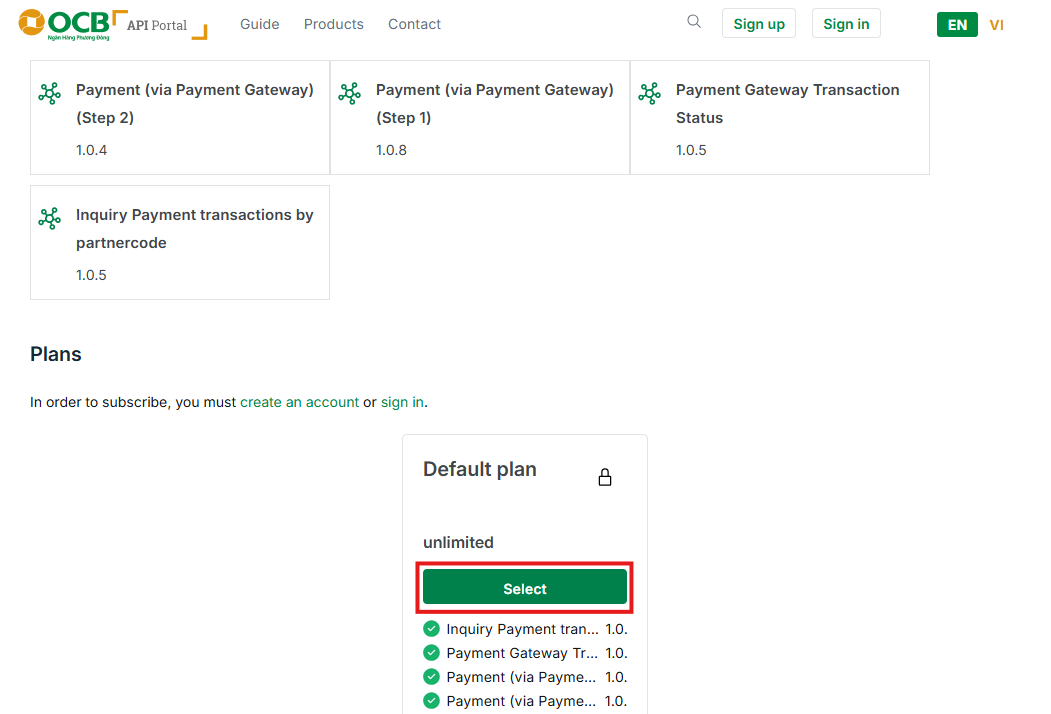
Step 6: Subscribe to a Plan
- On the product detail page, select the “Products” tab
- Click “Select” to subscribe to a suitable plan.
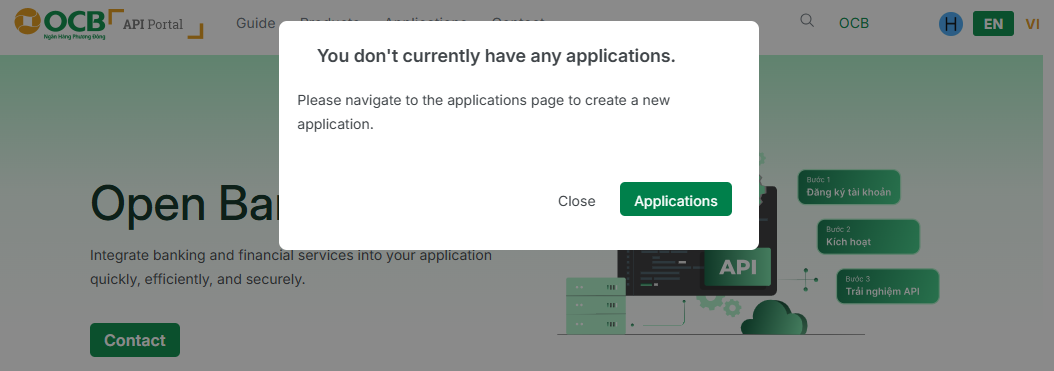
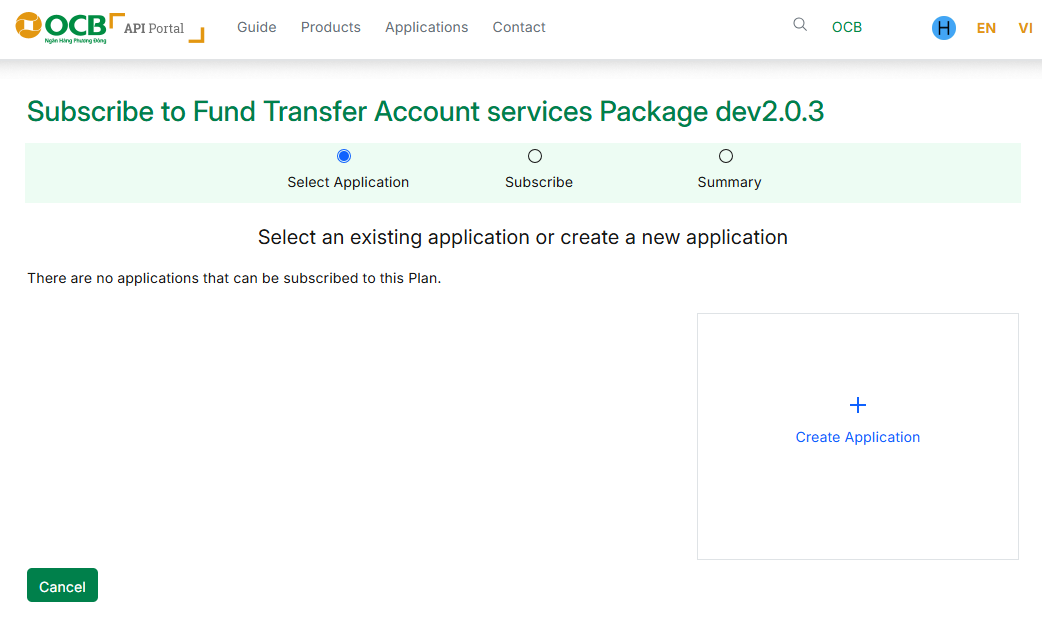
Step 7: Create an Application
To use the APIs, you must create an Application:
-Click “Create New Application”
-If no application exists, select “Create Application” and complete the required information.
* Note: After successful creation, please securely store your Client ID (API Key) and Client Secret for API authentication purposes.

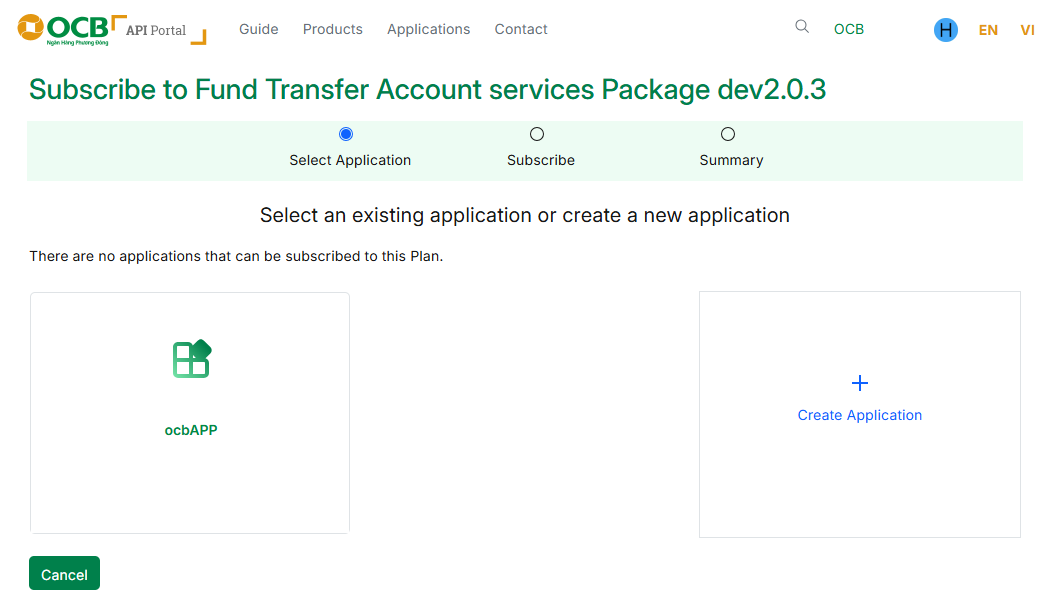
Step 8: Associate the Application with the Subscribed Plan
Select the newly created Application to complete the plan subscription.
Step 9: Test and Call APIs
After the Application is successfully subscribed, you may:
- Select an API from the list.
- Call the API directly on the Portal using the “Try It” feature.
- Or integrate the API into your system using the provided credentials.